Tips & Techniques
COMPUTER USE IN COMPOSITION - part 2
Where part 1 gives an overall idea of the steps taken in computer-aided composition, this concluding article supplies the means, techniques and an explanation of the use of layers in the process. Once again I'll use elements of previous drawings to demonstrate.
The illustrations are from Adobe PhotoDeluxe but any graphics program that supports layers, such as Photoshop Elements, Paint Shop Pro or GIMP, is equally suitable. I now use Photoshop but the principles remain the same. The benefits of their use as a tool for composition are many — speed, versatility, the infinite rearranging and resizing of images, the ability to revert to earlier versions... The list is endless.
The illustrations are from Adobe PhotoDeluxe but any graphics program that supports layers, such as Photoshop Elements, Paint Shop Pro or GIMP, is equally suitable. I now use Photoshop but the principles remain the same. The benefits of their use as a tool for composition are many — speed, versatility, the infinite rearranging and resizing of images, the ability to revert to earlier versions... The list is endless.
Setting up and importing images...
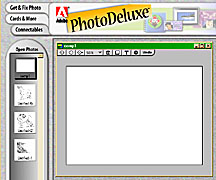
First import your line drawings or sketches that you have previously scanned (72 to 100 ppi is quite adequate) and minimise them. The images now reside in the "Open Photos" bar ready for inclusion.
Now open a new file in which to create your composition. Here it's called "comp1" and measures 11"×8", the known size of the final line drawing, and viewed at 50% size.
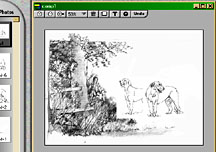
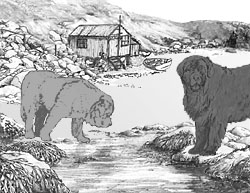
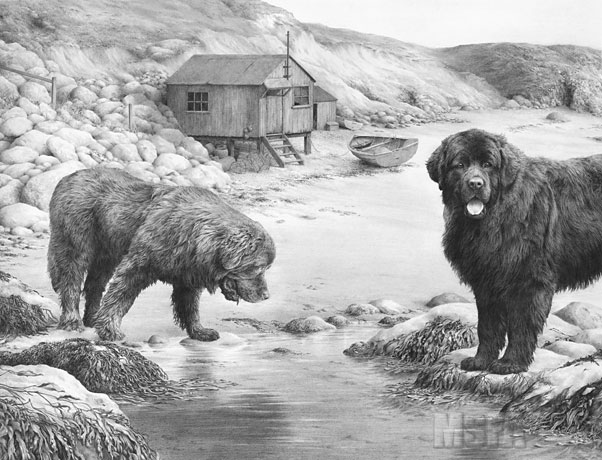
Now, as and when required, drag each element into your composition. Here I've dragged and dropped the two dogs and the sketch of the partial setting.
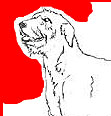
And this is where you realise that "white" and a "white background" are not the same thing!
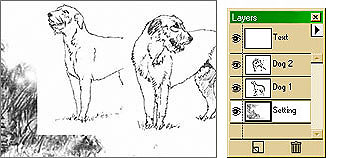 You can clearly see the rectangle of background of the left-hand dog overlaying the setting. Also the rear of this dog is obscured by the background of the right-hand dog.
You can also see that the setting is on the bottom layer and the dogs are on the middle and top layers.
Background transparency...
What you require is white within the body of the image and transparency outside of the image. In short, you need to delete the background. You can use the eraser or trace tool to quickly remove enough to show the layer below but you will probably save time later by removing it all now. There are a number of methods available and the one I prefer is shown here:
A new file has been opened, the background coloured red and then the dog dragged and dropped on top.
The lasso tool is used to cut away the bulk of the background.
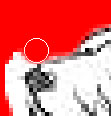
With the image enlarged to 500% the erase tool is used to clean up to the line.
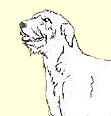
Finally the red layer is deleted and the dog is ready to be dragged back into the composition.
The dog can now be moved around the scene and always appear to be part of it.
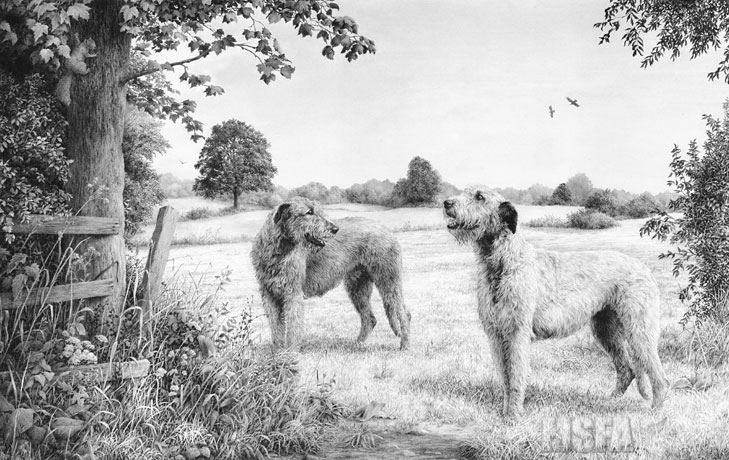
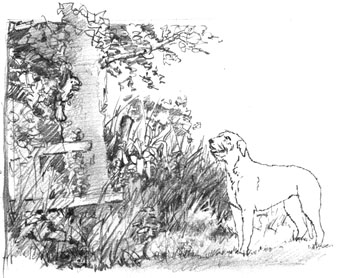
The finished project — "Spinney Lane End".
Moving and other magic...
By now you will have realised (or already know) that each layer can be treated independently of the others. You can turn layers on or off to try out new elements that you are unsure of. You can drag layers further down the hierarchy or drag them to the top. Selected layers can be merged into a single layer. And you can, of course, move each element around the setting and even move it back and forwards by altering its size. Unless you are using Photoshop or similar with multiple undo facilities you should occasionally save the file to a new name (comp1, comp2... for example) which will allow you to return to previous attempts at any time and, if saved in their native format (.PDD or .PSD for Adobe) the layers will be preserved.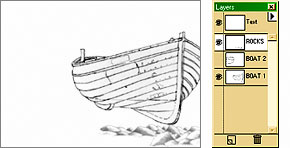
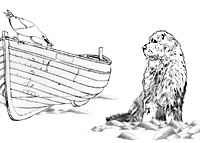
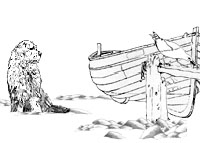
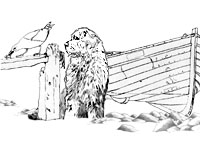
This image contains two boats - one is turned off
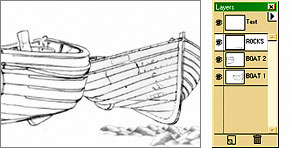
...but a click on the layer icon turns it on again.
If you're unsure about tonal balance...
...add tones on new layers - easily adjusted or even turned off.
Happy accidents are a bonus...
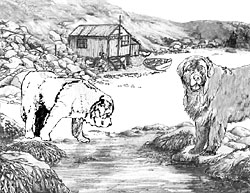
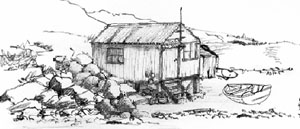
This is the original rough sketch for the setting of Whistlers Cove...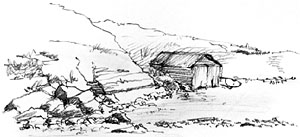
...for which I sketched a new shed.
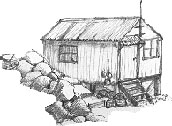
It was introduced on a new layer and placed over the old shed.
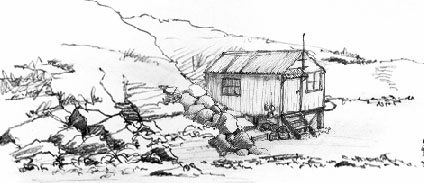
Then later I resized it and moved it left, accidentally uncovering part of the earlier shed. It gave a good sense of depth so I kept it right into the final drawing...
So that's it folks... Play around with images and enjoy yourself while you learn...
TOP TIP
Tortillons (hollow and smaller than blending stumps) are useful tools for delicate work. But they have a tendency to unwrap themselves after a short time and the point often slides up into the body.To prevent these faults first apply a paper adhesive to the conical end, making sure to avoid the point itself. Then apply more adhesive to the body or bind it with tape (use Scotch Magic Mending Tape, which will not bleed adhesive onto your fingers).
Available here...
250gsm super-smooth Brilliant White paper
The ultimate versatile kneadable eraser
288 pages of drawing techniques and more...

Pencils, Starter Packs and accessories...
250gsm super-smooth Brilliant White paper
The ultimate versatile kneadable eraser
288 pages of drawing techniques and more...
Pencils, Starter Packs and accessories...
