TITLES and SIGNATURES
Julian (JulianCourtDrawing.com/) emailed me to ask:
“I’ve been putting the title to my drawings quite small, just below my drawing’s bottom left. Simply handwritten neatly in pencil. The chap who’s mounting my drawings says I should do the same for prints. In fact, he winced when he saw one of my drawings with quite a large title at the bottom. I must admit it does rather distract from the drawing. What is your opinion on where a title should go for prints? If I recall, the title on your limited editions was quite prominent.”
HAND-WRITTEN or PRINTED
I used to write my titles in pencil. That’s OK if you’re just signing one or two prints. But it’s a pain if you’ve sold a bunch to a dealer, or maybe a rush of sales from a mailing. Even just writing on an imaginary straight line is a problem, and a title that’s askew simply looks bad. So, I have my titles printed on my prints.
TITLE FONT SIZE
If I’m printing by giclée in-house, I’ll use a mid-grey, not black. Black grabs attention away from the art. In the days of offset-litho printing, that wasn’t a problem, because litho can only achieve an 80% black.
I think I have the font sizes about right – clearly legible, but not overly large. This is the base of an 11″ x 8″ (28 x 20cm) print:
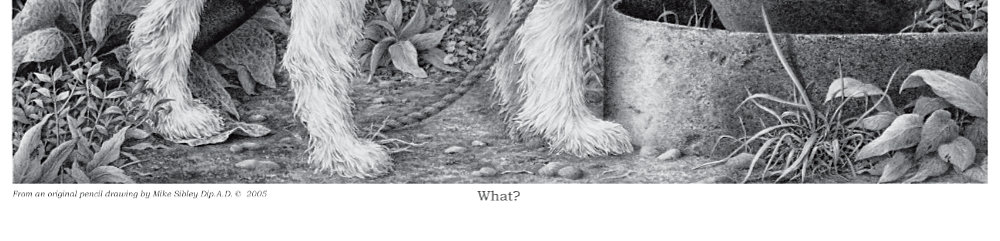
For balance, I’d number it at the right-hand end, and sign it to the right of the title.
SIGNATURE
I have a signature problem. Having spent two or three months trying to create a sense of reality, I don’t want to destroy it with a signature. I feel that signing within the image just degrades the reality to zero. So, I always sign my drawings underneath the image and never on it.
That forces the framer to leave a wider bottom margin. It has to be matted away from the edge of the drawing to accommodate the signature. With a 1/2″ (1.2cm) margin all round and a 1″ (2.5cm) bottom margin, it looks OK.
Do make your signature legible. When I was at school, I altered my handwriting to italic – one letter at a time. 🙂 Then I designed my signature:
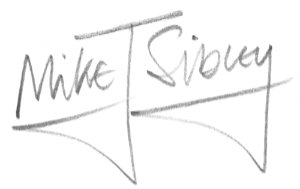
My signature is my trademark, so I prefer to use it as a promotional tool and make it relatively LARGE – sufficient to be recognised at a distance.
If you sign the artwork itself, where should you place it? I don’t know, because I don’t do that. Sometimes you can find a good place for it on a spot that’s “too blank”, sometimes you just have to put it somewhere that it doesn’t interfere with anything. I guess it depends heavily on how it looks in the actual drawing. Not only must it not interfere with the image, it must also not throw it off balance. Many artists prefer to sign their name very small along a branch or similar position, so as not to interfere visually with the drawing.
You can, of course, use the signature in a positive way to add balance. Personally, I’d agonise for days about positioning my signatures on my head studies (which are not necessarily where they appear in my website’s gallery. I moved most of them to cut the image size down).
TITLING YOUR WORK
Titles are often the last thing I get round to. I find inspiration usually comes during the drawing process. And If I can’t think of a title that describes the action, I revert to using a location.

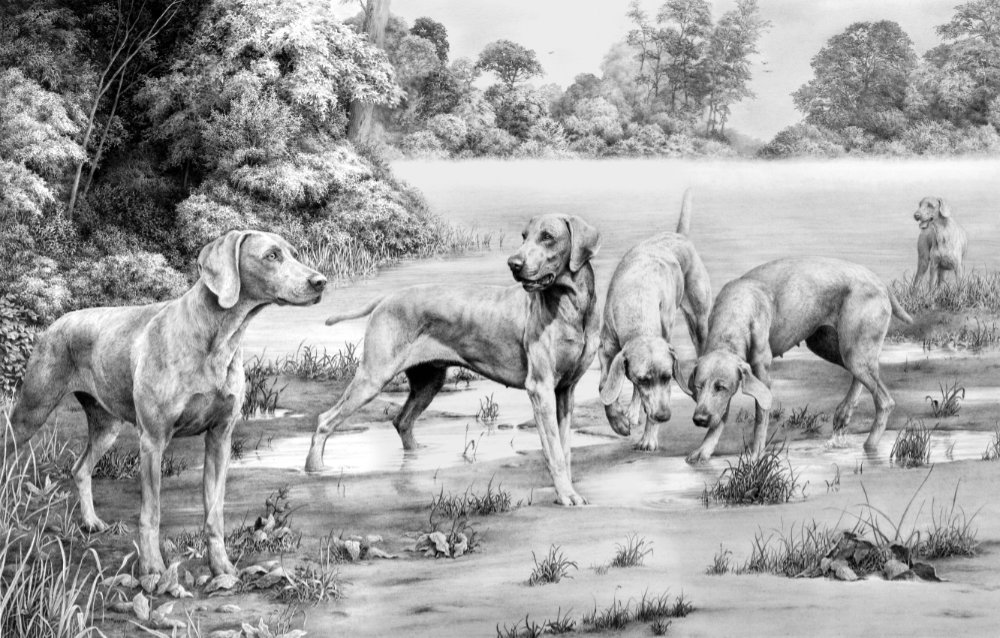
“Early morn at Witton Marsh” sets both the time of day and suggests an actual location.
“Ready and waiting” describes the scene.
“Gunnerside Ghyll” sets just the location – it implies this is a real place. In this case, it was based on photos from High Cluegh in Ripon. “Gunnerside” is an actual place, and “Ghyll” is Cumbrian for “stream”. Yorkshire “Gill”, or our local “Beck”, would have been a better choice, as my US dealers didn’t know how to pronounce Ghyll correctly (it’s GILL, as in the gills of a fish)
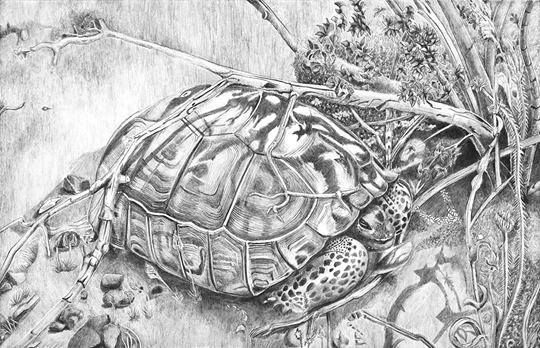
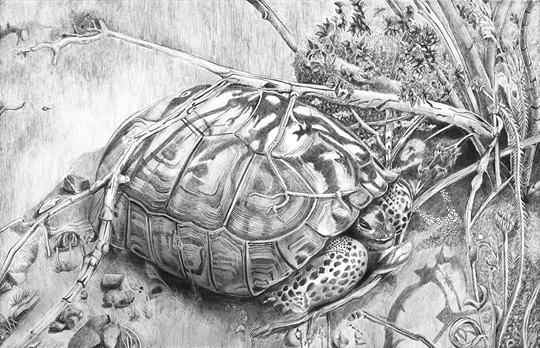
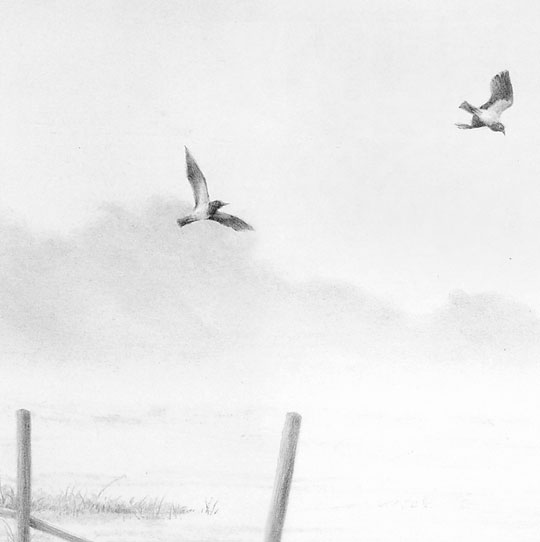
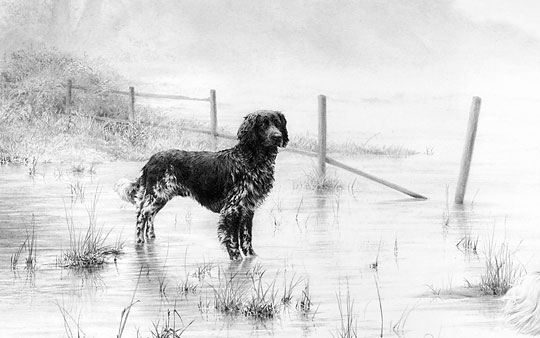
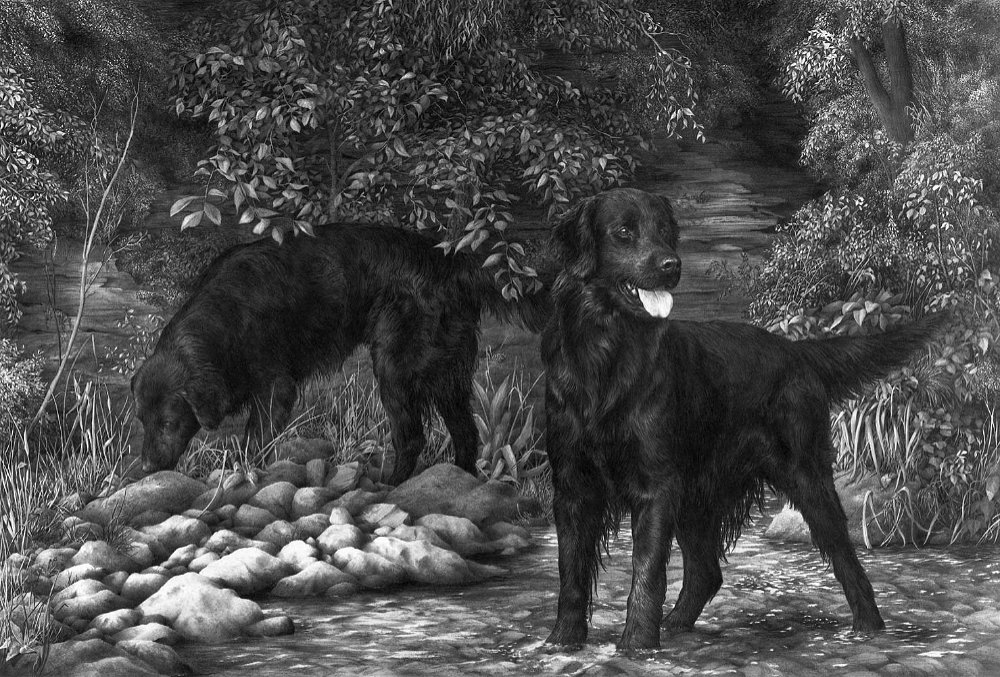
I’ve made other errors too. With only an hour remaining before printing had to begin of one print, I still didn’t have a title. Someone on the Artpapa forum suggested “Vanished!”, so I went with that. But it refers to only an incidental element in the drawing and is probably meaningless to most people.
“Vanished!” A location would have been a much better choice. “Morning mist at Mellings Mere” for example.
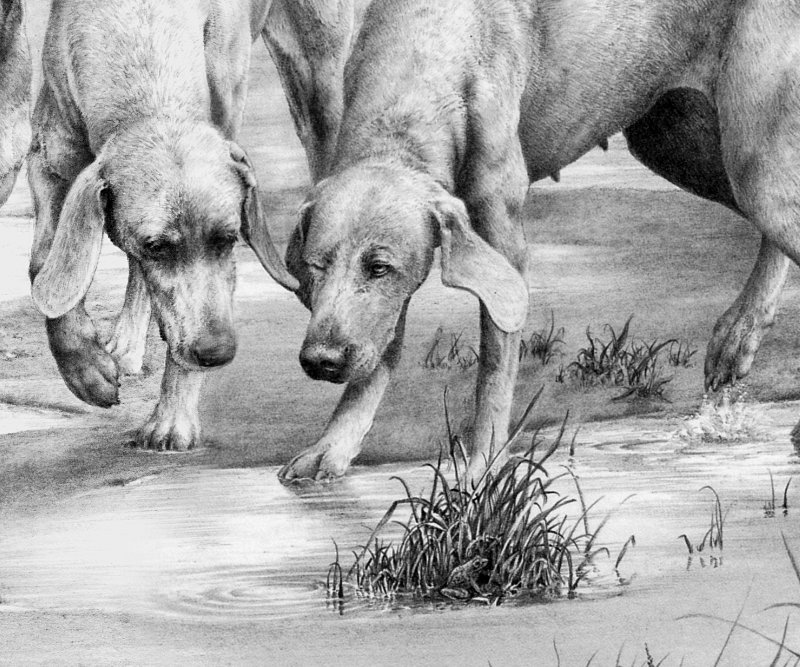
The vanished element (look in the weeds).
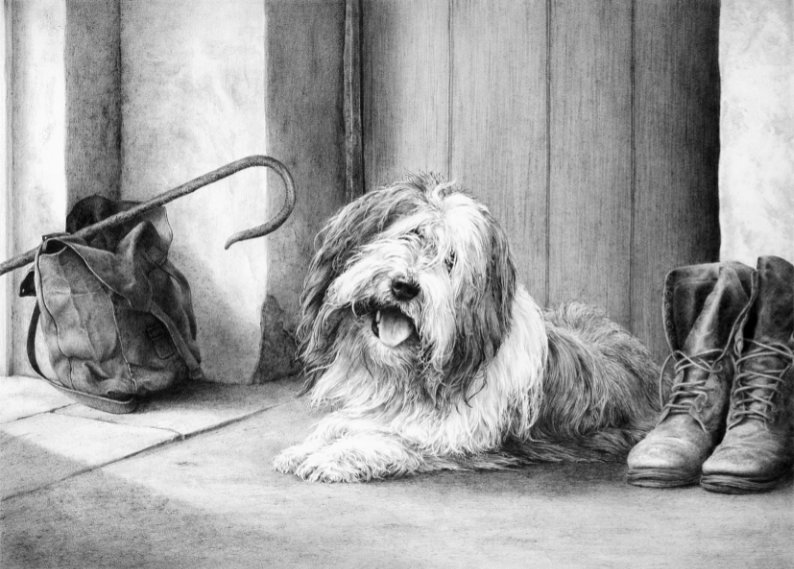
Sometimes the title will exist before the work, or you’ll have one come to mind as you’re composing the drawing. “The Barn Patrol” was one, and that sets up a friendly connection and describes exactly what’s going on.
Sometimes the title will exist before the work, or you’ll have one come to mind as you’re composing the drawing.
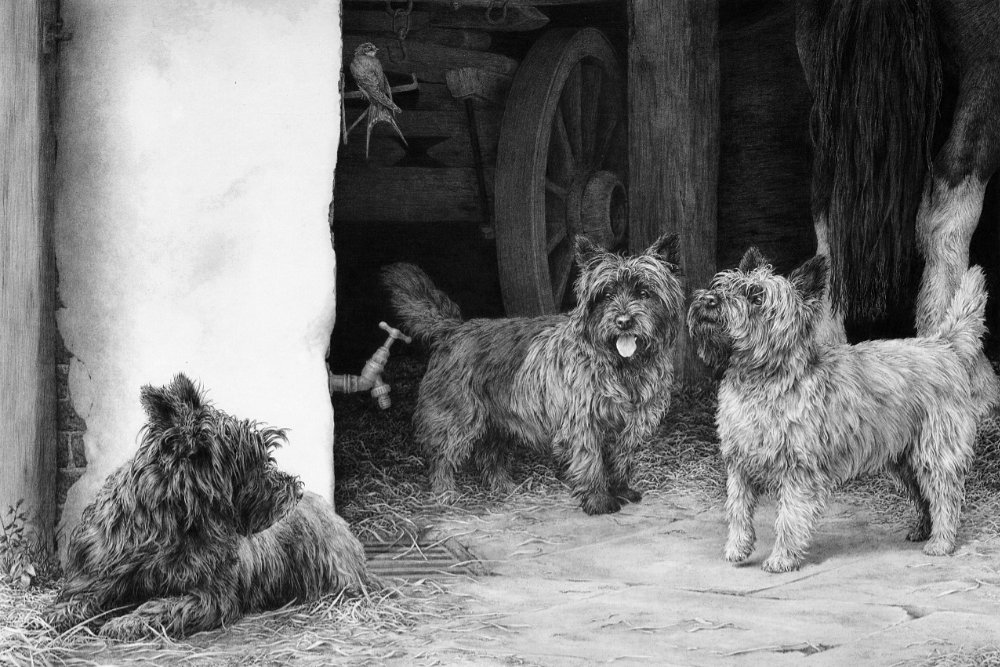
“The Barn Patrol” was one, and that sets up a friendly connection and describes exactly what’s going on.